
- Download Cloudera VM from https://www.cloudera.com/downloads/quickstart_vms/5-12.html
- Boot it up using VMware using instructions from https://community.cloudera.com/t5/Hadoop-101-Training-Quickstart/How-to-setup-Cloudera-Quickstart-Virtual-Machine/ta-p/35056 and (after download from https://my.vmware.com/en/web/vmware/free#desktop_end_user_computing/vmware_workstation_player/12_0)
-
Procedure
-
- Download putty from (seriously dude) https://www.chiark.greenend.org.uk/~sgtatham/putty/latest.html
- login to Cloudera VM using Putty as follow
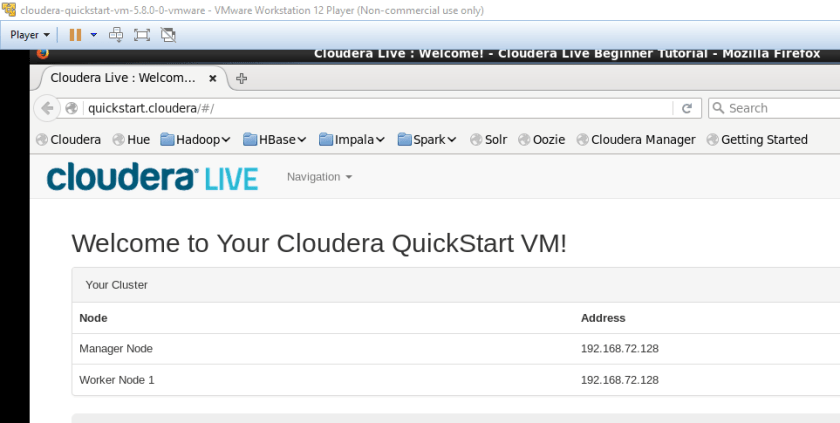 IP address for connecting 192.168.72.128
- Username and Password – cloudera
- Install R using – sudo yum install R https://cran.r-project.org/bin/linux/redhat/README

- For Python see latest version at http://repo.continuum.io/archive/

- cd /opt
- sudo wget https://repo.continuum.io/archive/Anaconda3-5.0.1-Linux-x86_64.sh
- bash Anaconda3-5.0.1-Linux-x86_64.sh
- Accept all conditions!
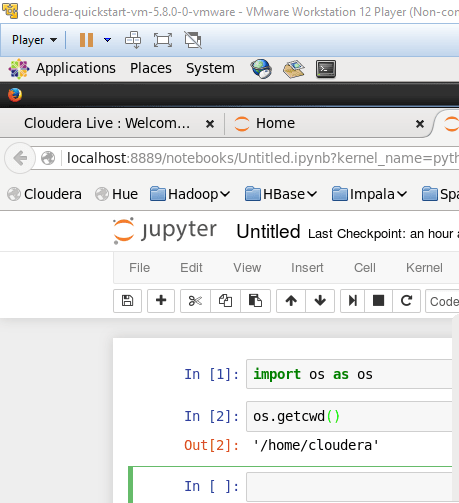
- type jupyter notebook to launch Python in Notebook
- For RStudio
- See download link https://download1.rstudio.org/rstudio-1.1.383-x86_64.rpm from https://www.rstudio.com/products/rstudio/download/#download
- sudo wget https://download1.rstudio.org/rstudio-1.1.383-x86_64.rpm
- sudo bash
- yum install rstudio-1.1.383-x86_64.rpm
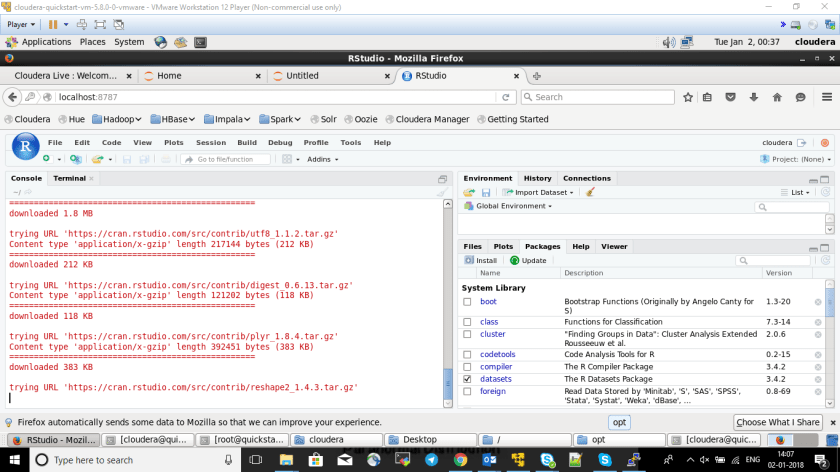
- For RStudio Server (better alternative since RStudio didnt work above)
- instructions from https://www.rstudio.com/products/rstudio/download-server/
$ wget https://download2.rstudio.org/rstudio-server-rhel-1.1.383-x86_64.rpm
$ sudo yum install --nogpgcheck rstudio-server-rhel-1.1.383-x86_64.rpm- Open this http://localhost:8787/ in browser in VM and use cloudera cloudera as username and password
- Install packages as needed 🙂
- To check rstudio sessions type this in command line
sudo rstudio-server active-sessions
Hat tip – http://linuxpitstop.com/install-anaconda-miniconda-conda-on-ubuntu-centos-linux/
https://www.vultr.com/docs/how-to-install-rstudio-server-on-centos-7
https://support.rstudio.com/hc/en-us/articles/200532327-Managing-the-Server
TO BE CONTINUED
